


Hello everyone, this will be a very simple and straight forward tutorial. As a backend developer, anytime I create a new project to make sure everything is working fine we are instructed to hit a URL like localhost:3000 or whatever port you set your app to listen on.
There is no problem with running your application this way until you have to include OAuth authentication to your application. Google and Facebook don't accept this type of URLs, they prefer a URL that has the basic structure of
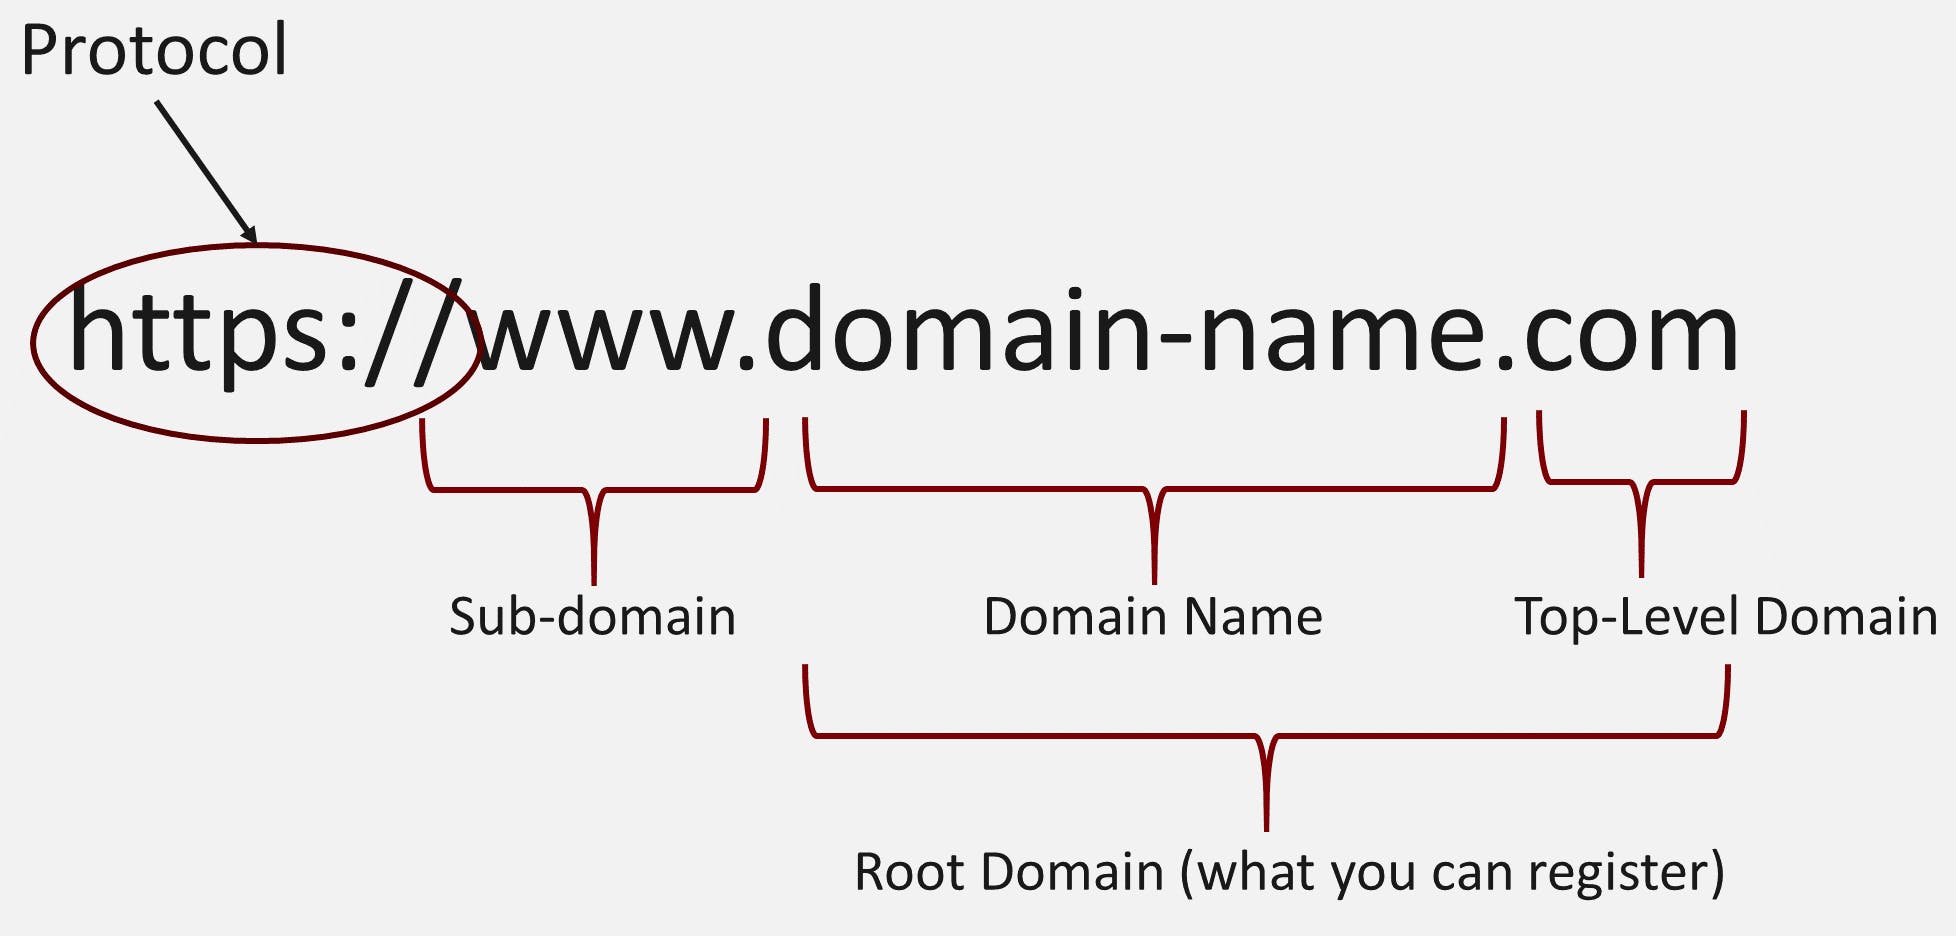 the "sub-domain" part is optional though but "https://" is compulsory
So in order to get around this locally and make sure everything is working locally before pushing to production you would need to set up a local domain if/when you visit on your browser will always direct you to your app running locally.
Project Set up
To set up this project, I will show you a very cool basic nodejs structure I learned from Phil Nash. To start with, you will want to set up this basic config.
npm set init.author.name "Your name"
npm set init.author.email "your@email.com"
npm set init.author.url "https://your-url.com"
npm set init.license "MIT"
npm set init.version "1.0.0"
By doing this, anytime you create a new NodeJS project using
npm init -y
Your basic details will be auto-filled in the package.json file. But that's not all if you use a Linux system as I do you will love this next part. Go to your terminal and type in this command
sudo nano ~/.bash_profile
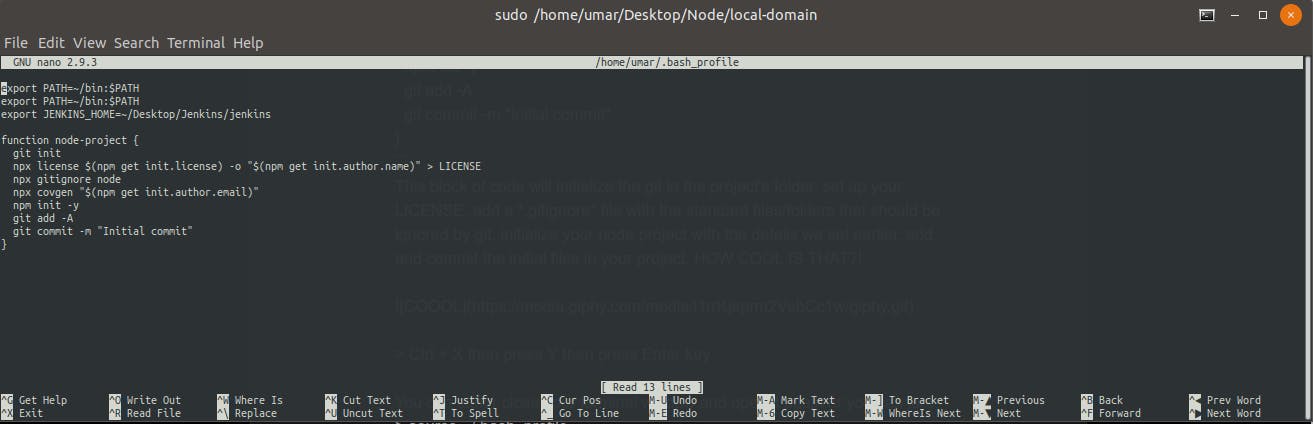
and paste this block of code after the last line
function node-project {
  git init
  npx license $(npm get init.license) -o "$(npm get init.author.name)" > LICENSE
  npx gitignore node
  npx covgen "$(npm get init.author.email)"
  npm init -y
  git add -A
  git commit -m "Initial commit"
}
copy all these to index.js This block of code will initialize the git in the project's folder, set up your LICENSE, add a .gitignore file with the standard files/folders that should be ignored by git, initialize your node project with the details we set earlier, add and commit the initial files in your project. HOW COOL IS THAT?!

Ctrl + X then press Y then press Enter key
 .bash_profile file
You can either close your terminal window and open it again or you can just
source ~/.bash_profile
We are almost done with the project set up, in your terminal navigate to the folder where you want your project created and just
node-project
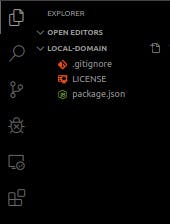
This will set up everything for you while you go grab a cup of water(or coffee). At the end of this section, the project folder should contain only these files
Install module
To achieve our main objective, we need to install http-proxy and express.
npm i http-proxy express
create 2 new files in your project index.js - Your normal express code will be written here proxy.js - This is the file that will proxy/map our local-domain url to localhost
const express = require('express');
const app = express();

app.get('/', function(req, res) {
  res.json({ live: true });
});

app.listen(3070);
copy and paste the above code into index.js We just want a basic express server setup nothing fancy. update the scripts section of your package.json file with the below code
"proxy": "node proxy",
"start": "node index"
Now go to your terminal and type
npm run start
and then go to your browser and hit this url http://localhost:3070
 if you don't see this in your browser, you might have taken too much coffee
So we have finished setting up a basic express server now comes the real deal.
Set up Proxy server
Before we begin this section please make sure you have open ssl installed on your system. To find out if open ssl is installed on your system, go to your terminal and type
openssl version
you should get something similar to this
OpenSSL 1.1.1d 10 Sep 2019
But if you get an error, just run this in your terminal
sudo apt install openssl
and voila!! you should have openssl installed on your local machine. We will need to create and sign a personal ssl certificate we would use for the https version of your local url. That's the main reason we need openssl. Run this command on your terminal and fill up the details as you wish
openssl req -newkey rsa:4096 \
            -x509 \
            -sha256 \
            -days 3650 \
            -nodes \
            -out localurl.crt \
            -keyout localurl.key
You should have 2 new files in your project's folder a localurl.crt file and localurl.key file.
Now in your code editor, open the proxy.js file and paste this code in it
const httpProxy = require('http-proxy');
const fs = require('fs');

let hostname = 'umaradam.io';
let sslKey = 'localurl.key';
let sslCrt = 'localurl.crt';

const proxy = httpProxy
  .createProxyServer({
    target: { host: hostname, port: 3070 }
  })
  .listen(80);

const secureProxy = httpProxy
  .createProxyServer({
    target: { host: hostname, port: 3070 },
    ssl: {
      key: fs.readFileSync(sslKey, 'utf8'),
      cert: fs.readFileSync(sslCrt, 'utf8')
    },
    secure: true
  })
  .listen(443);

// Listen for the `error` event on `proxy`.
proxy.on('error', function(err, req, res) {
  res.writeHead(500, {
    'Content-Type': 'text/plain'
  });

  console.log(' Error ', err);
  res.end('Something went wrong. And we are reporting a custom error message.' + err);
});

// Listen for the `error` event on `proxy`.
secureProxy.on('error', function(err, req, res) {
  res.writeHead(500, {
    'Content-Type': 'text/plain'
  });

  res.end('Something went wrong. And we are reporting a custom error message.' + err);
});
All we are doing is creating 2 proxies one for port 80(http://) and port 443(https://). Make sure the port number is the same as the port number your express server is listening on.
At this point, you would want to open another tab on your terminal and run this command to start the proxy
sudo npm run proxy
Take note of the sudo, it needs root privileges
Don't rush to your browser just yet, one more thing you need to do. Open your hosts file.
sudo nano /etc/hosts
make sure to add the below code just before the ipv6 tables, and use the tab key to separate the localhost ip address(127.0.0.1) and the domain name(umaradam.io).
127.0.0.1 umaradam.io
After adding the code above save the file and exit
ctrl + x, then press Y then hit the enter key
Run both
sudo npm run proxy
and
npm run start
on two different terminal tabs or windows and then go to your browser and hit this url umaradam.io and voila you should see this
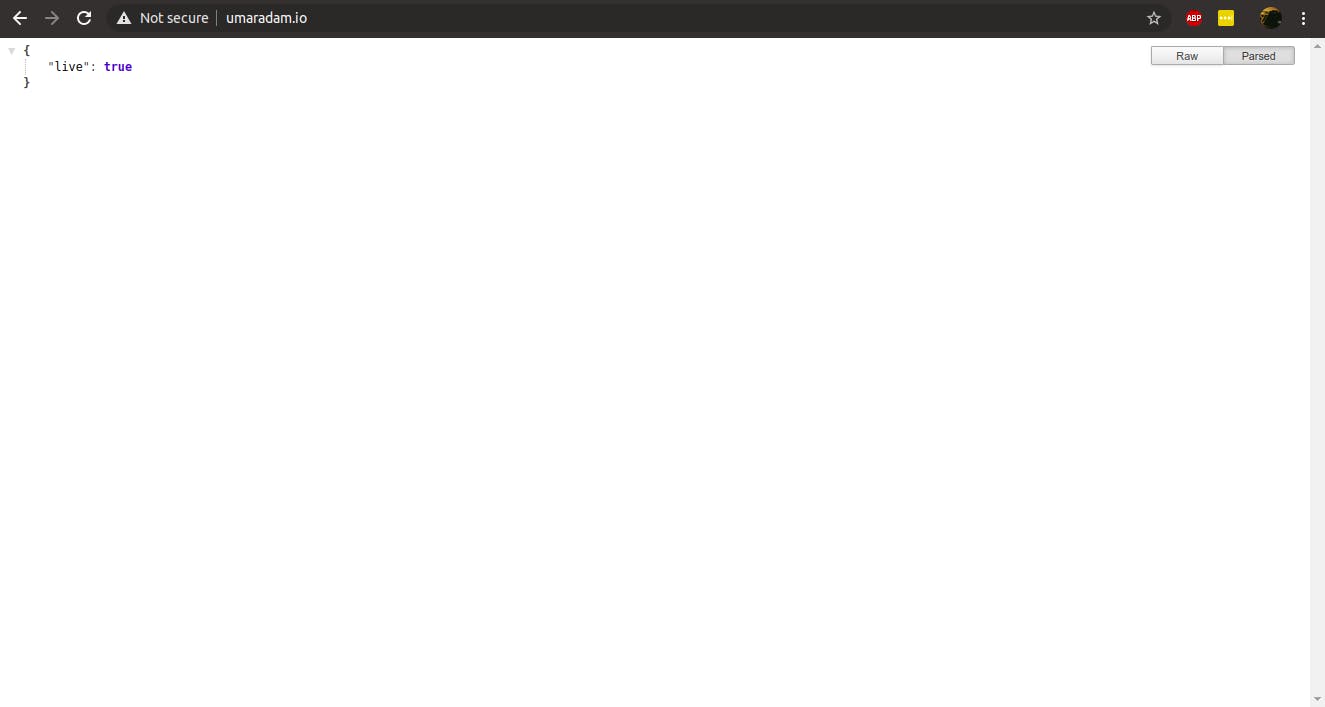 sweet!!
I think we are done. If you have an existing project already then just create a proxy.js file project folder and follow the instructions.
Happy coding. Do let me know if you are facing any difficulties.
LINK TO THE REPO github.com/1baga/local-domain